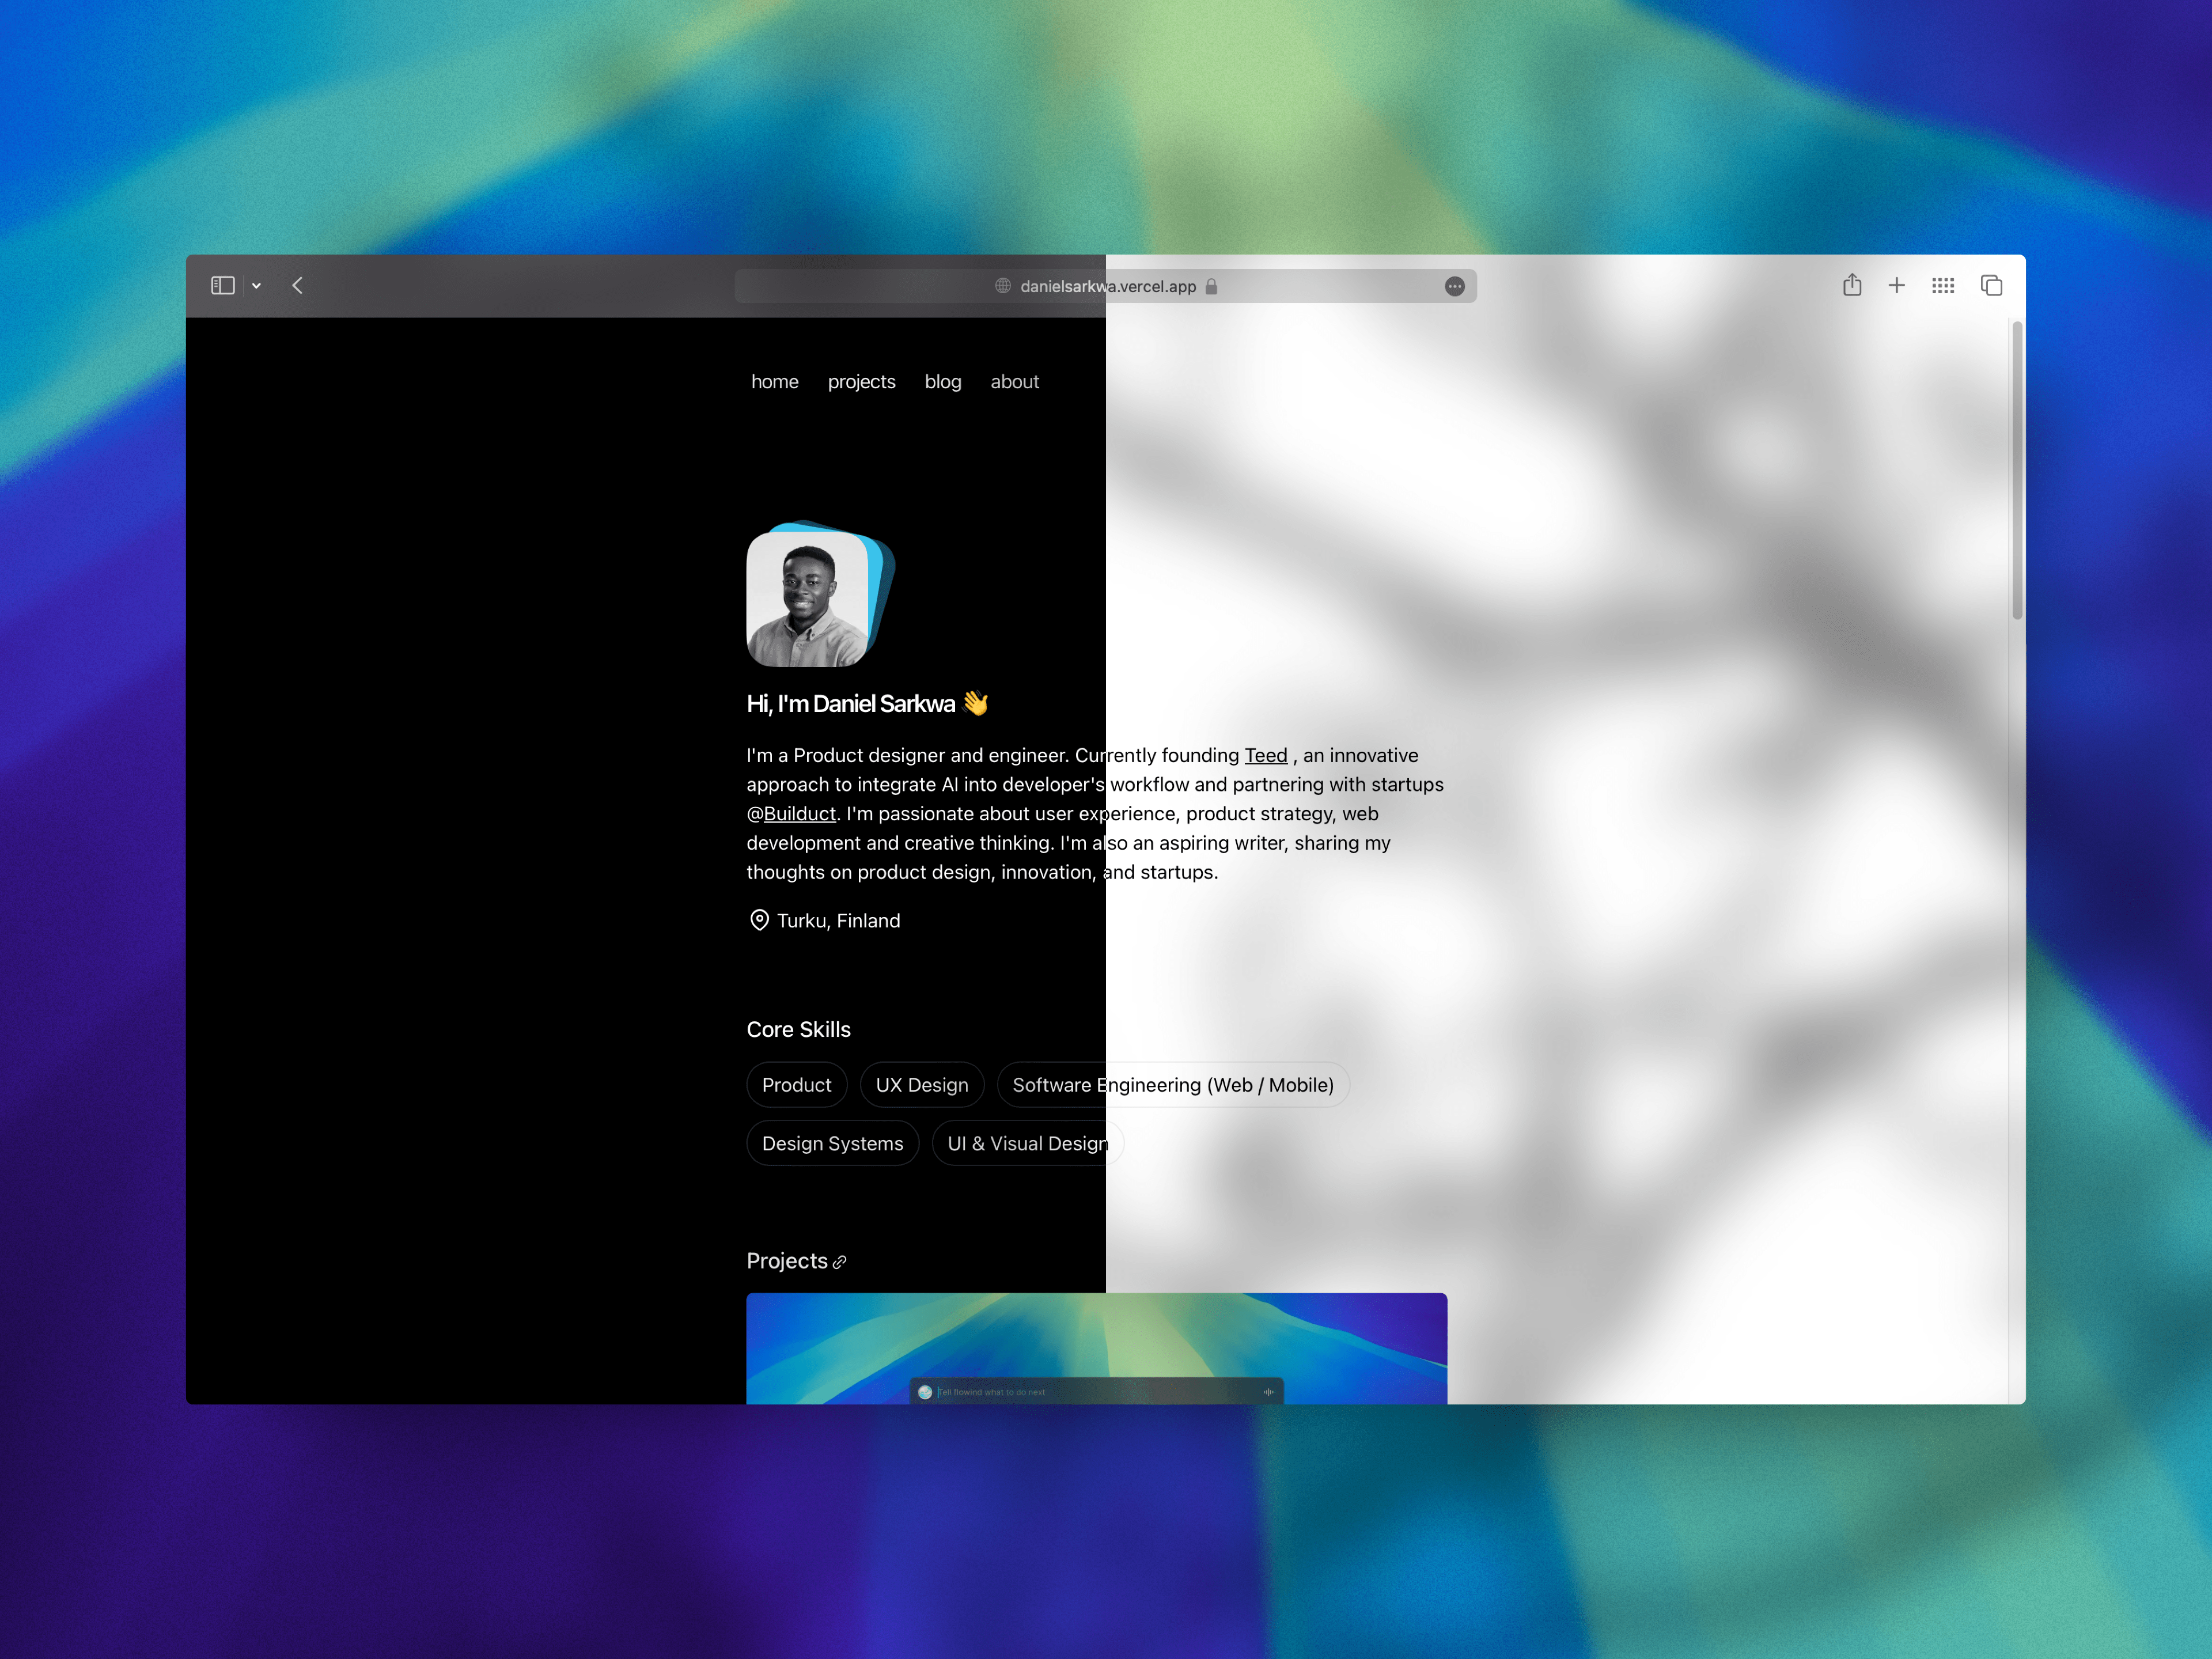
As a Product designer and developer, creating a personal portfolio website is crucial for showcasing my skills, projects, and professional journey.
This blog post outlines my process of designing and building my portfolio using a Next.js. From setting clear goals to planning, writing code and deployment, I'll share insights and tips to help you build your own portfolio site.
Defining Clear Goals
Before diving into the technical aspects, it's essential to define the goal and value of the project. For me, the main objectives were:
- Design a website with an easily maintainable CMS feature for portfolio documentation and blog posts.
- Design a website that is self-maintained and hosted to minimize costs.
- Establish a robust online presence to share my career journey, making it accessible for potential collaborators, clients, and employers.
- The site should have a simple style and serve the main purpose of sharing my work and experience with others.
Planning
With clear goals in mind, I moved on to the planning phase. This involved several key steps:
Research And Inspiration
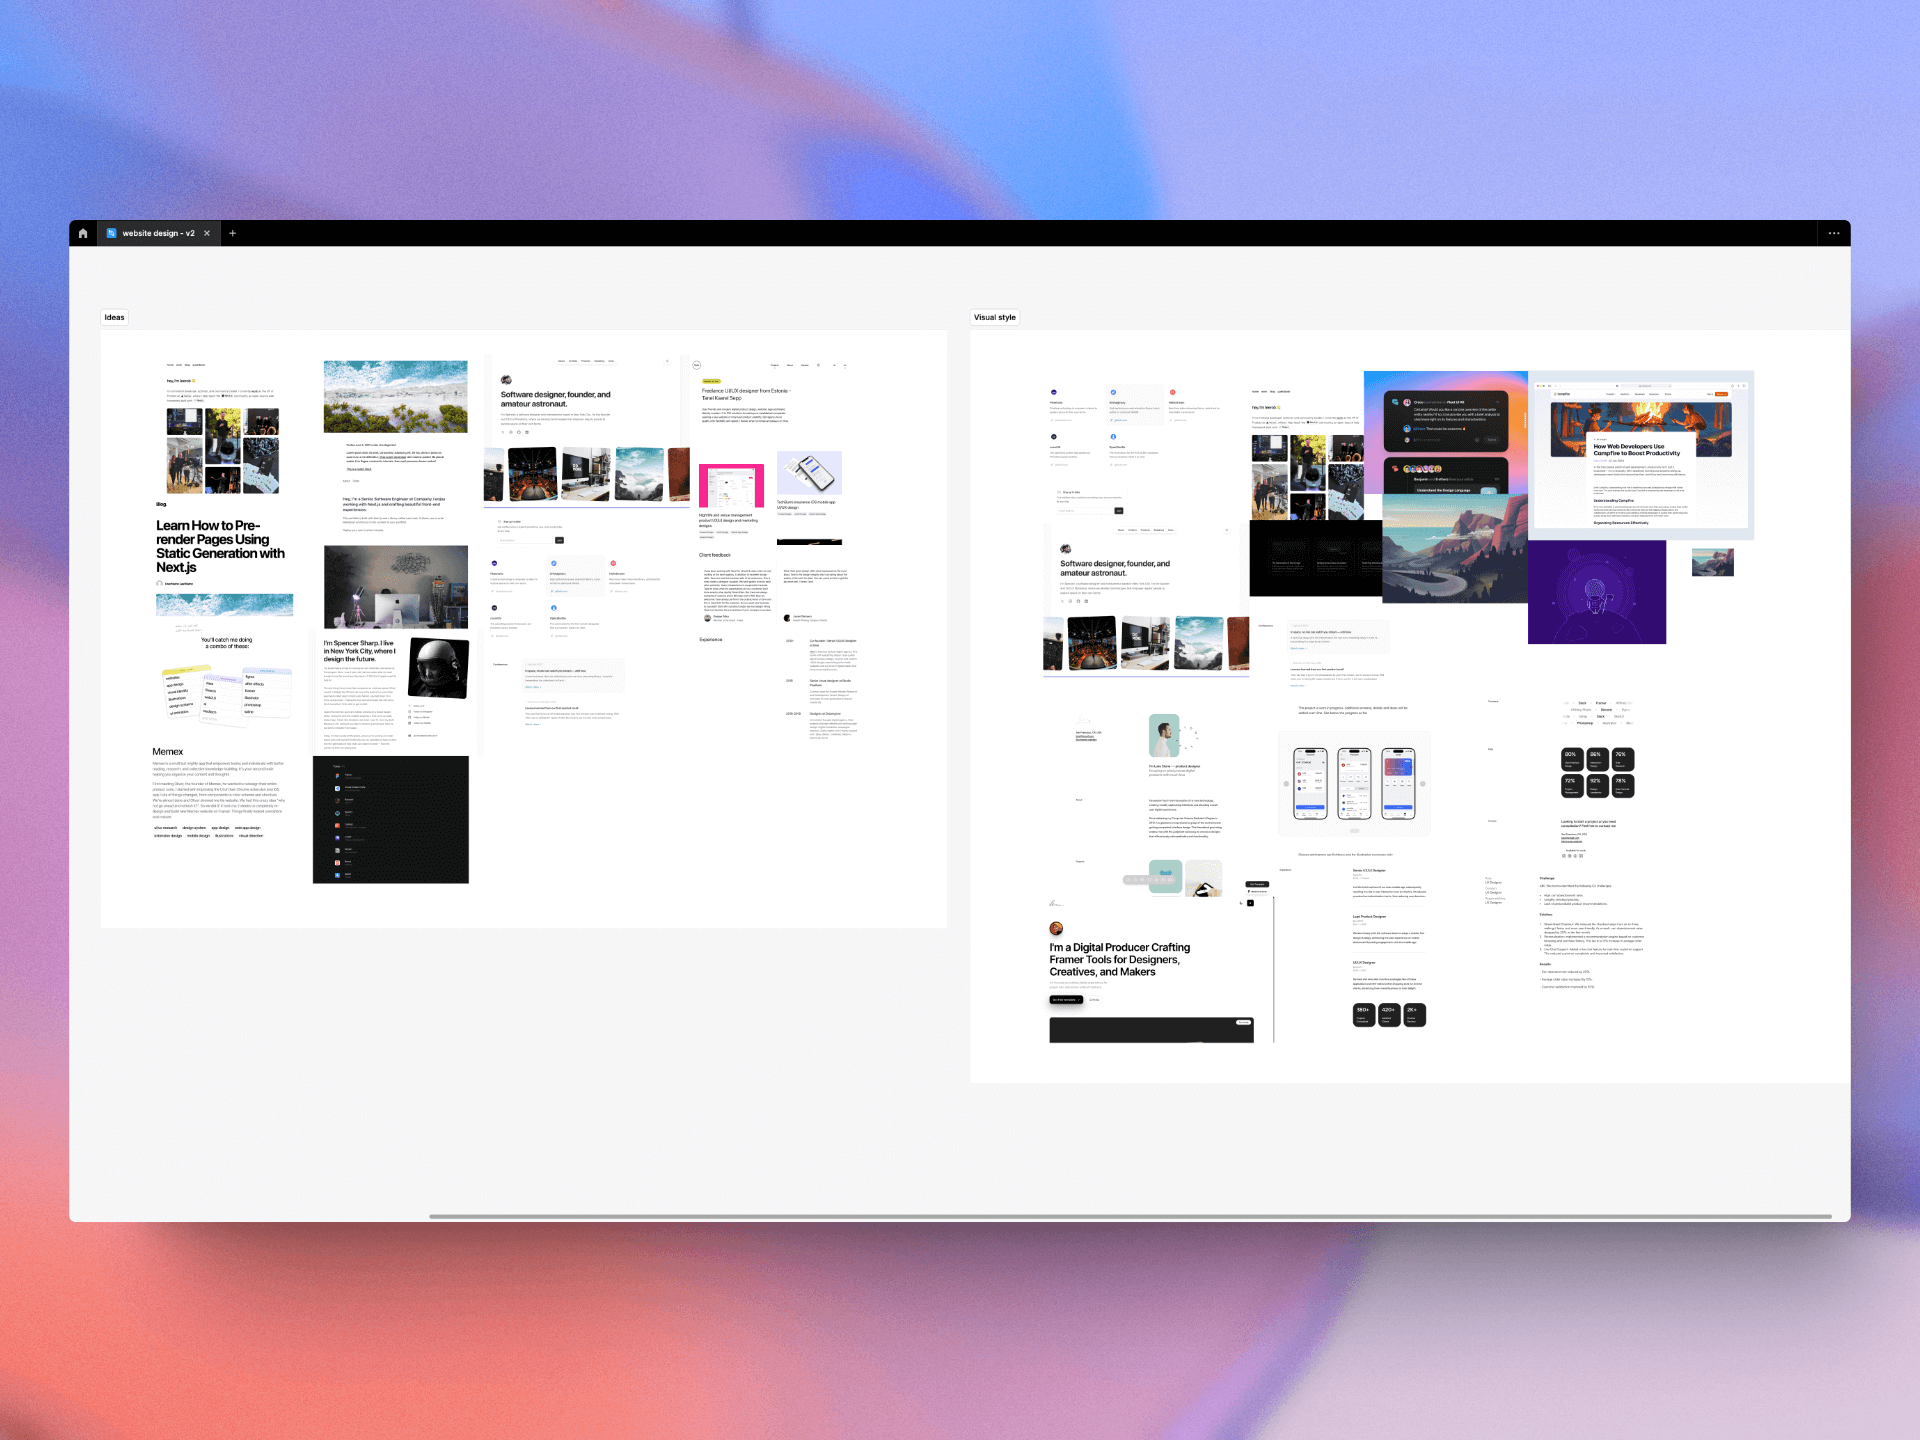
I explored various portfolio websites to gather inspiration and identify features I wanted to include. I focused on clean, minimalist designs that emphasize content.
I used Figma to gather my ideas and gathered ideas in groups related to content and visual appearance.
Content Inventory
I made a list of all the content I wanted to include, such as projects, case studies, an about me section, and contact information. Using Notion I created a list of all the pages to help me plan the information architecture.
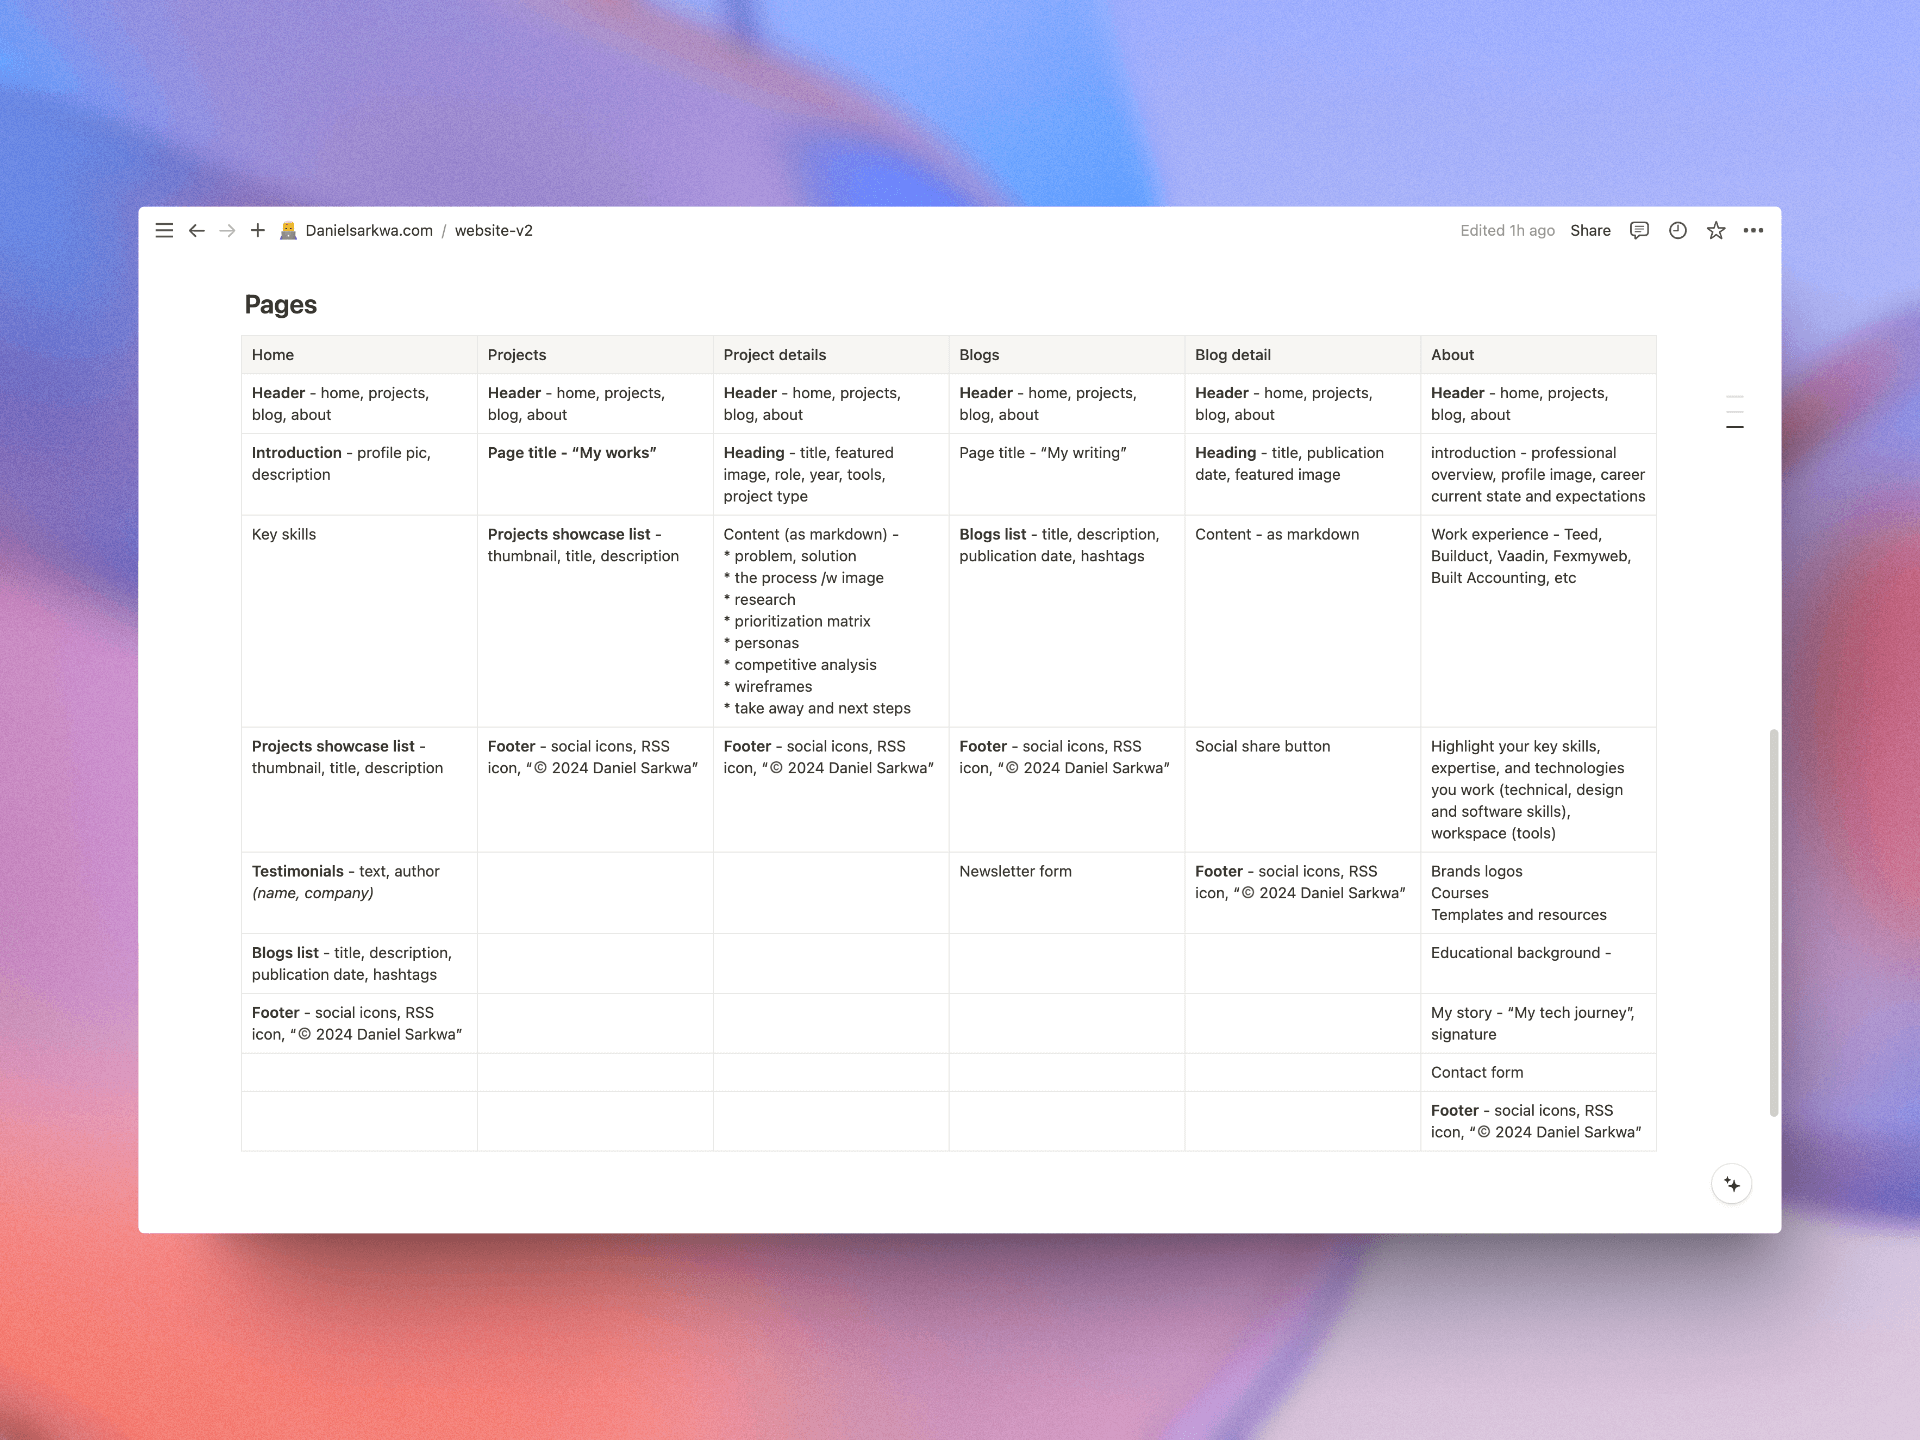
You can download my simple portfolio planner on Gumroad for free.
Choosing The Tech Stack
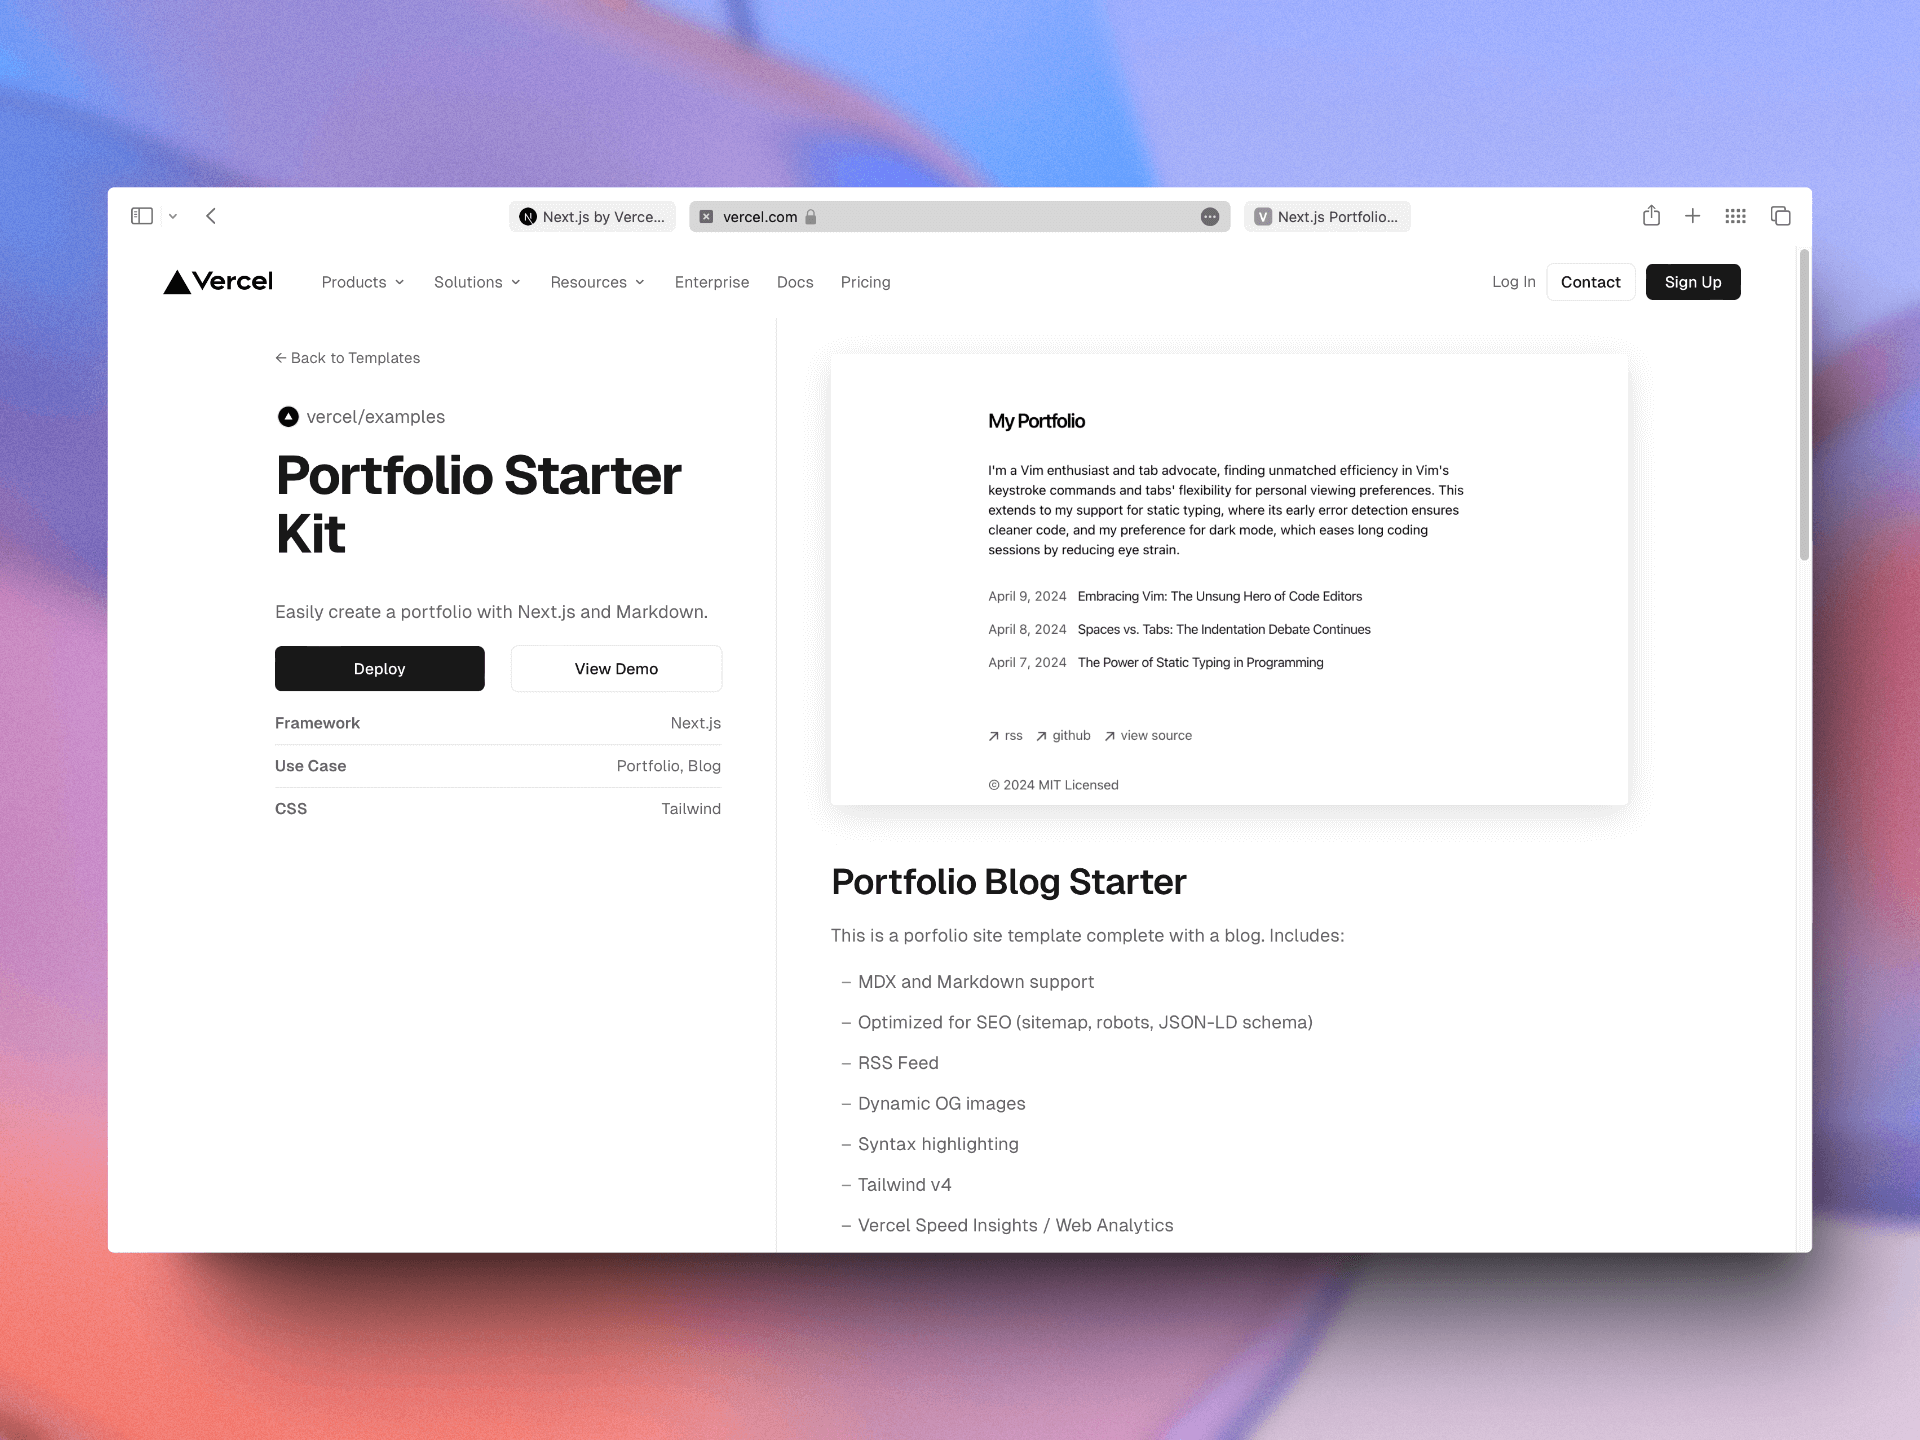
After some consideration, I decided to use Next.js for its performance benefits, static site generation capabilities, and ease of deployment. I also chose a starter template to speed up the development process as it comes with a MDX to HTML feature which is a good solution for writing dynamic content for my portfolios and blog posts.
Cloning The Starter Kit
Once I found the right template, I cloned the repository to my local machine and started the project using the following command:
pnpm create next-app --example https://github.com/vercel/examples/tree/main/solutions/blog [your-project-name]
cd [your-project-name]
pnpm dev
Remember to set the directory name to your preferred name at the end of the bash command. This is how you can install pnpm if you already use npm.
Upload To Github For Live Testing
After customizing your portfolio website, uploading it to GitHub for live testing is a crucial step. Here’s a quick guide:
- Created a new repository on GitHub.
- Initialized a local Git repository in the project folder.
- Pushed the local repository to the remote repository on GitHub.
Now the website can be deployed on Vercel, this steps helps me see how my portfolio performs live and catch any issues before the final deployment.
Deploying To Vercel
Once I was satisfied with the customization and performance of my portfolio website, I deployed it to a hosting platform. I chose Vercel for its seamless integration with Next.js and its ability to automatically deploy changes from my GitHub repository.
To deploy the website to Vercel, I followed these steps:
- Created an account on Vercel.
- Connected my GitHub repository to Vercel.
- Configured the deployment settings, such as the branch to deploy from and the build command.
- Reviewed the deployment preview and confirmed the deployment.
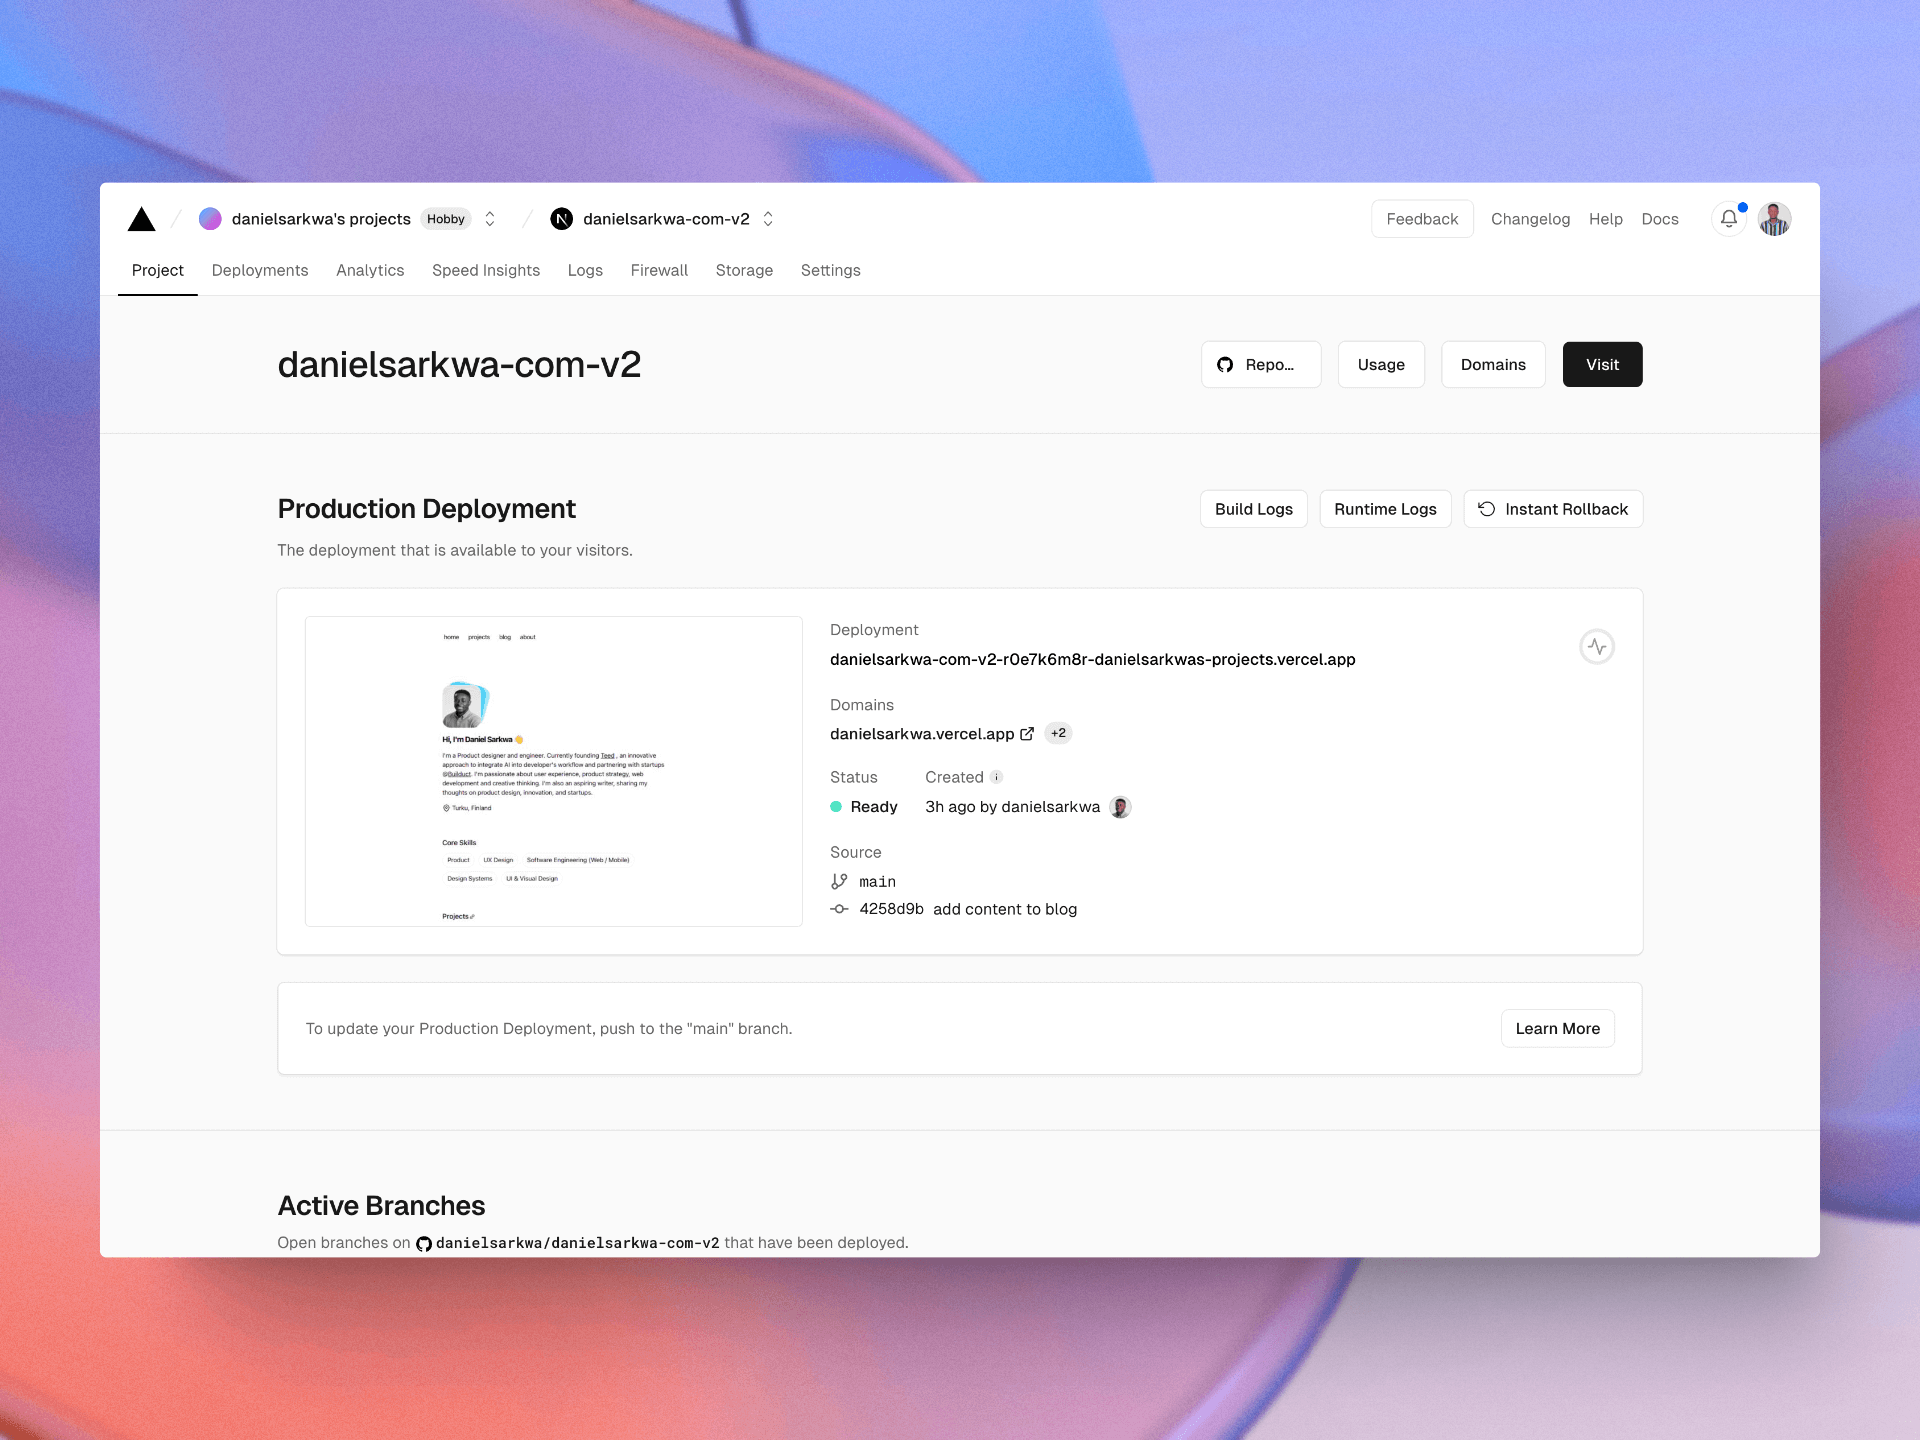
Enable Analytics And Speed Insights
Deploying on Vercel using the starter kit comes with analytics and speed insight built into it so you can check the Vercel dashboard to ensure it’s active, if it’s not, just click on the enable button and that should do the trick.
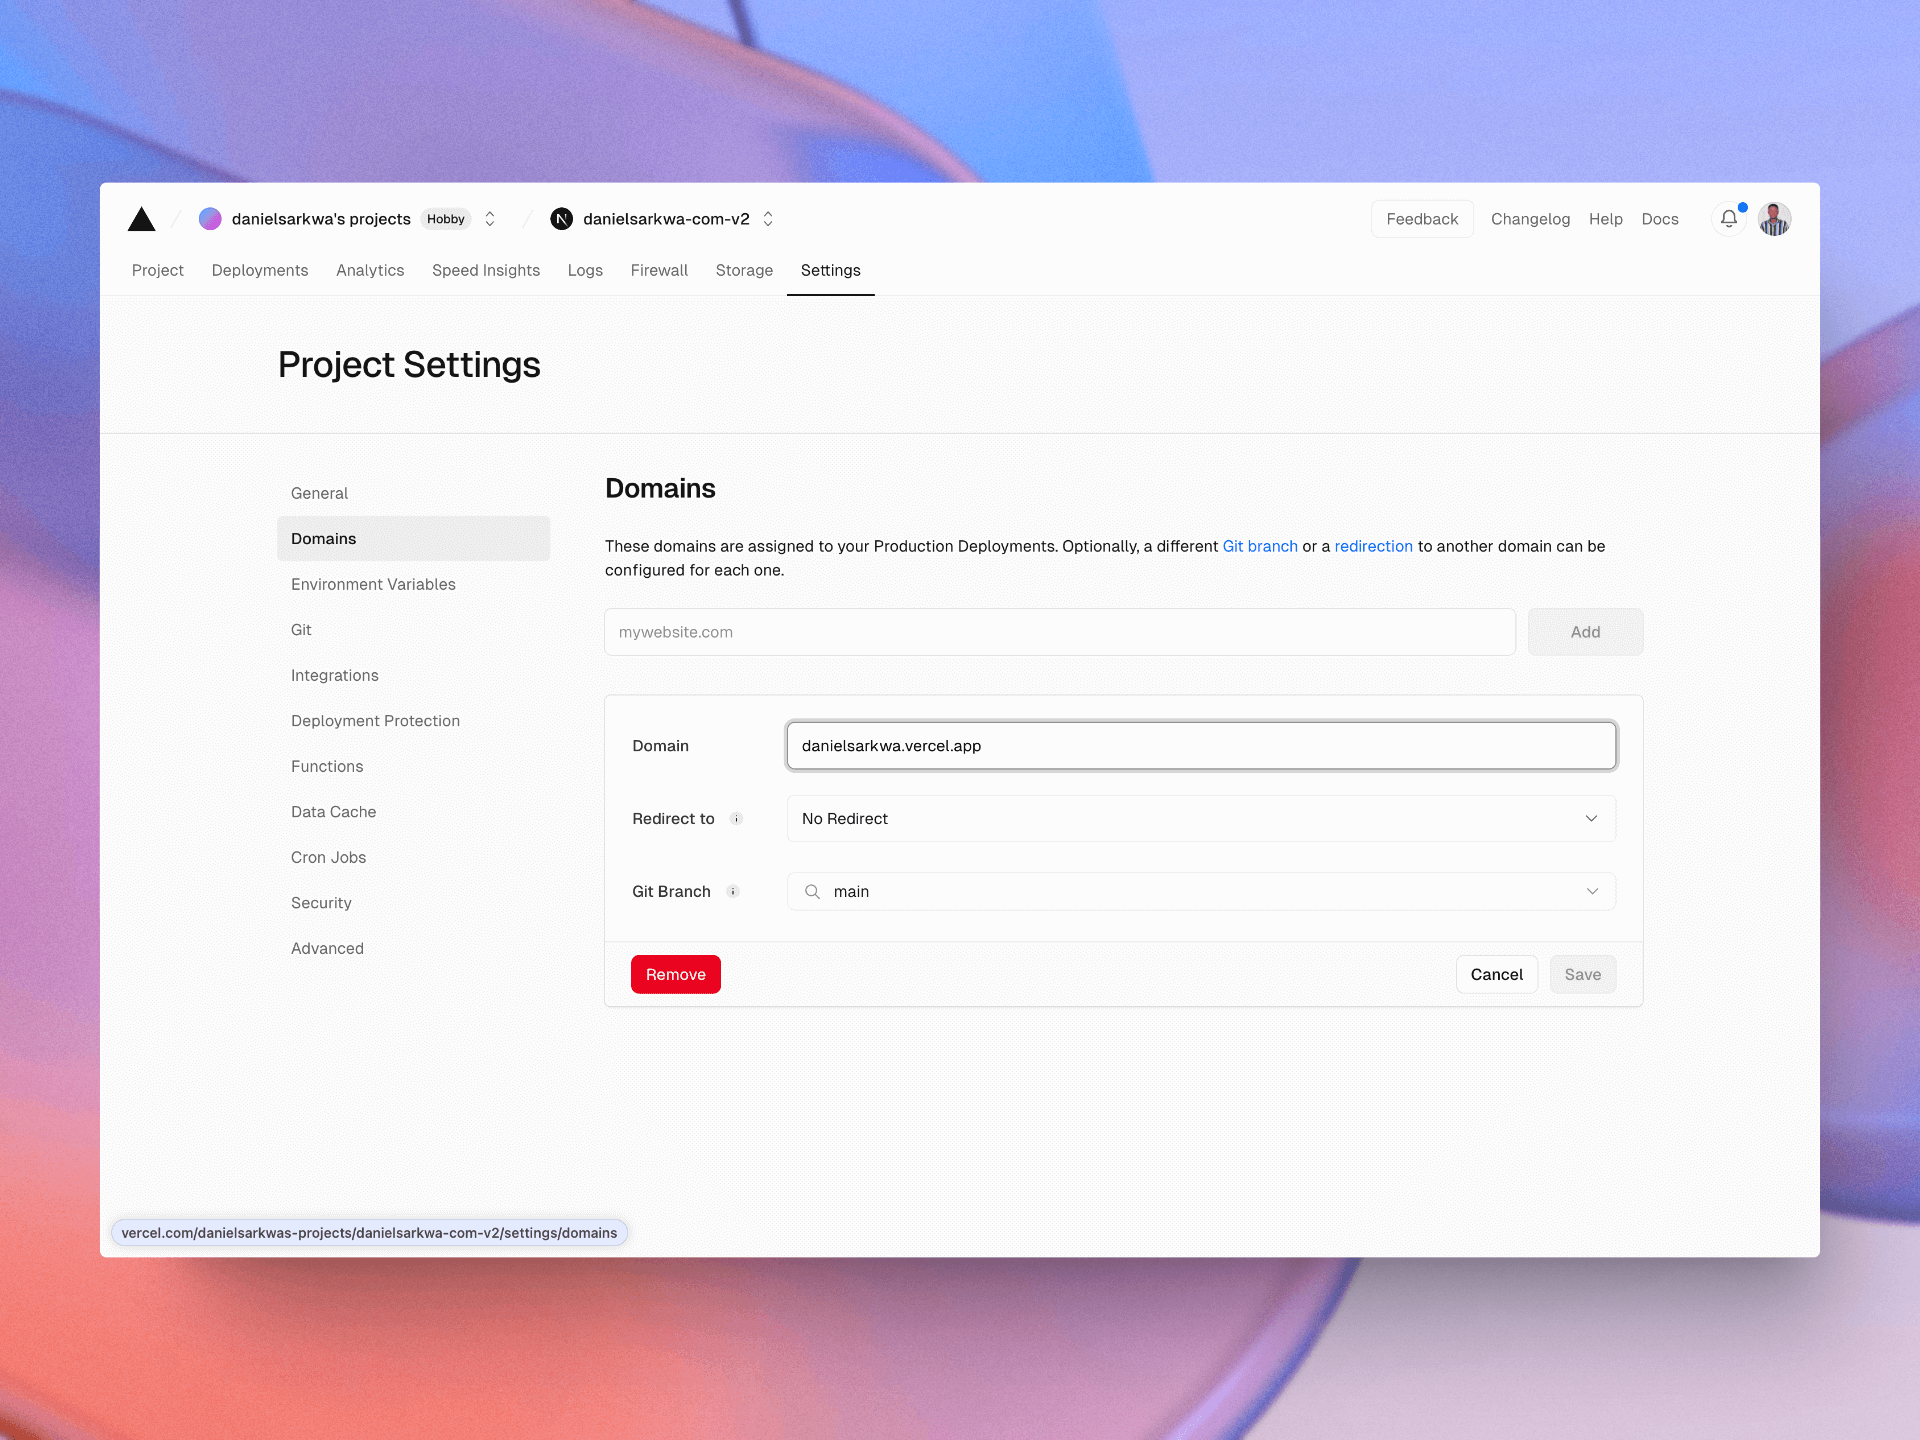
Set Domain name
You can change the domain name to any subdomain you want but it needs to be of this format yoursubdomain.vercel.app or add your own custom domain.
Customizing The Template
With the template set up locally, the real fun began: customization. Here’s a breakdown of the process:
Add New Content And Components
Based on my initial plan, I added the relevant contents using HTML and Tailwind CSS, ie: Profile images, Testimonial cards, Skills list, Project card, Project details page, Blog post hashtag, About page, Work experience card, etc.
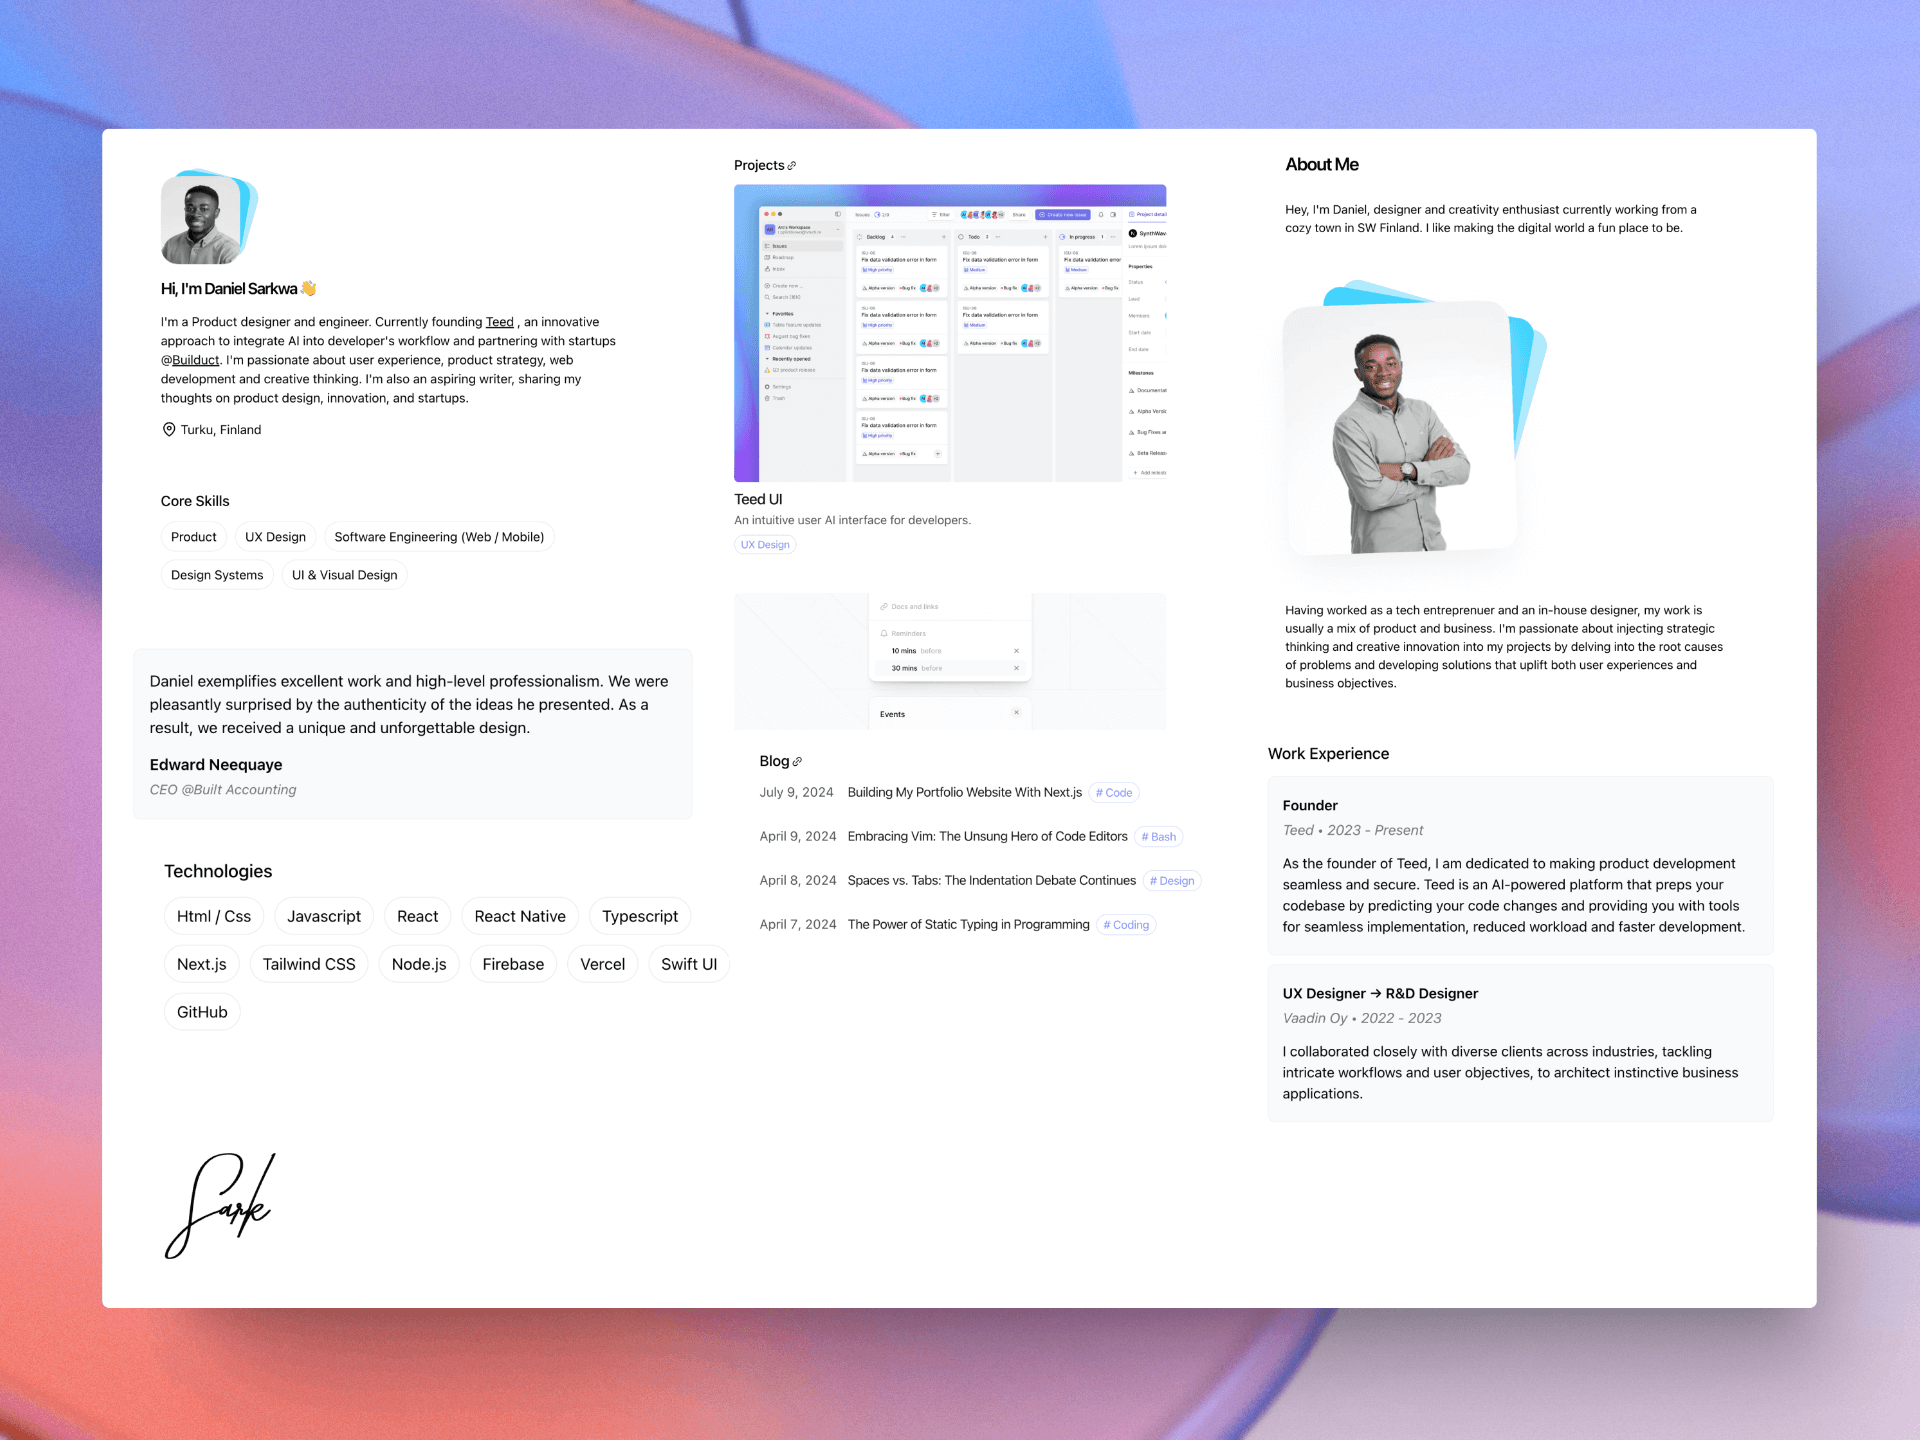
Work Experience Component
<div className='my-16 flex flex-col justify-start gap-3'>
  <div className='block'>
    <p className='text-lg font-medium'>Work Experience</p>
  </div>
  <div className='flex gap-2.5 flex-wrap'>
    {experience.map((experience, index) => (
      <div
        key={index}
        className='flex flex-col gap-3.5 rounded-lg bg-gray-50 dark:bg-neutral-900/60 py-5 px-4 border border-gray-100 dark:border-gray-900/90'
      >
        <div className='flex flex-col gap-1'>
          <p className='font-semibold text-base'>{experience.title}</p>
          <p className='text-base italic text-gray-500'>
            {experience.company} • {experience.year}
          </p>
        </div>
        <p>{experience.description}</p>
      </div>
    ))}
  </div>
</div>
Testimonial Component
<div className="my-16 flex flex-col justify-start gap-3">
  <div className="block">
    <p className="text-lg font-medium">Testimonials</p>
  </div>
  <div className="flex flex-col gap-4">
    {testimonials.map((testimonial, index) => (
      <div
        key={index}
        className="flex flex-col gap-3.5 rounded-lg bg-gray-50 dark:bg-neutral-900/60 py-5 px-4 border border-gray-100 dark:border-gray-900/90"
      >
        <p>{testimonial.message}</p>
        <div className="flex flex-col gap-1">
          <p className="font-semibold text-base">{testimonial.author}</p>
          <p className="text-sm italic text-gray-500">{testimonial.company}</p>
        </div>
      </div>
    ))}
  </div>
</div>
Portfolio Card Component
<Link
  key={portfolio.slug}
  className='flex flex-col space-y-1 mb-5'
  href={`/projects/${portfolio.slug}`}
>
  <div className='flex flex-col gap-2'>
    <Image
      className='rounded-md'
      src={`${portfolio.metadata.image}`}
      alt={`{portfolio.metadata.title} cover image`}
      width={1506}
      height={1647}
      priority
    />
    <div className='flex flex-col gap-0.5'>
      <p className='text-xl font-medium text-neutral-900 dark:text-neutral-100 tracking-tight'>
        {portfolio.metadata.title}
      </p>
      <p className='text-neutral-600 dark:text-neutral-400'>
        <TruncateText text={portfolio.metadata.summary} />
      </p>
      <p className='w-fit text-sm text-indigo-400 dark:text-indigo-200 tracking-tight border border-indigo-300/40 dark:border-indigo-200/20 rounded-3xl px-2 py-0.5 mt-1.5'>
        {portfolio.metadata.type}
      </p>
    </div>
  </div>
</Link>
Profile Image Component (About Page)
<div className="relative w-fit mb-4 mt-10">
  <Image
    className="relative z-1 rounded-3xl overflow-hidden shadow-2xl shadow-gray-200/70 dark:shadow-none -rotate-2"
    src="https://image-url.com"
    width={300}
    height={327}
    alt="my profile image"
  />
  <div className="absolute w-[280px] h-[280px] top-0 right-0 transform translate-y-[-3px] z-0">
    <div className="absolute w-full h-full bg-avatar-shadow-1 avatar-border-radius transform translate-x-[8px] rotate-[10deg] z-2"></div>
    <div className="absolute w-full h-full bg-avatar-shadow-2 avatar-border-radius transform translate-x-[16px] rotate-[16deg] z-1"></div>
  </div>
</div>
Update sitemap.ts
It’s important that I include URLs for all blog posts, portfolio projects, and static pages like the "About" page, to improve how search engines index our website.
import { getBlogPosts } from 'app/blog/utils';
import { getPortfolios } from './projects/utils';

export const baseUrl = 'https://danielsarkwa.vercel.app';

export default async function sitemap() {
  let blogs = getBlogPosts().map((post) => ({
    url: `${baseUrl}/blog/${post.slug}`,
    lastModified: post.metadata.publishedAt,
  }));

  let portfolios = getPortfolios().map((portfolio) => ({
    url: `${baseUrl}/projects/${portfolio.slug}`,
    lastModified: portfolio.metadata.publishedAt,
  }));

  let routes = ['', '/blog', '/projects', '/about'].map((route) => ({
    url: `${baseUrl}${route}`,
    lastModified: new Date().toISOString().split('T')[0],
  }));

  return [...routes, ...blogs, ...portfolios];
}
Update metadata
export const metadata: Metadata = {
  metadataBase: new URL(baseUrl),
  title: {
    default: 'Daniel Sarkwa - Portfolio',
    template: '%s | Daniel Sarkwa - Portfolio',
  },
  description:
    'Designer turned Founder currently founding (Teed) as a Design Engineer to revolutionize the way products are built.',
  openGraph: {
    title: 'Daniel Sarkwa - Portfolio',
    description: 'Designer turned Founder currently founding (Teed) as a Design Engineer to revolutionize the way products are built.',
    url: baseUrl,
    siteName: 'Daniel Sarkwa - Portfolio',
    locale: 'en_US',
    type: 'website',
  },
  robots: {
    index: true,
    follow: true,
    googleBot: {
      index: true,
      follow: true,
      'max-video-preview': -1,
      'max-image-preview': 'large',
      'max-snippet': -1,
    },
  },
};
Conclusion
Building my portfolio website using a Next.js starter template was a rewarding experience that allowed me to showcase my skills and creativity. By setting clear goals, planning, and customizing the template to reflect my personal brand, I was able to create a polished and professional online presence.
While my portfolio website achieves my goals, there are a few improvements left to make. Here are some improvements I could make;
- Limit the number of list items for projects and blogs on the homepage to keep it concise.
- Enable vertical scrolling for longer list items and expandable sections. These refinements will ensure my site remains user-friendly and accessible.
- Integrate a headless CMS to host my blog and portfolios. This way, it's easy to write, update, and manage graphic assets without having to save the MDX file in my codebase.
I hope this guide inspires you to embark on your own portfolio project. If you have any questions or need further assistance, feel free to reach out. Happy designing and coding!